This article may contain affiliate/compensated links. For full information, please see our disclaimer here.
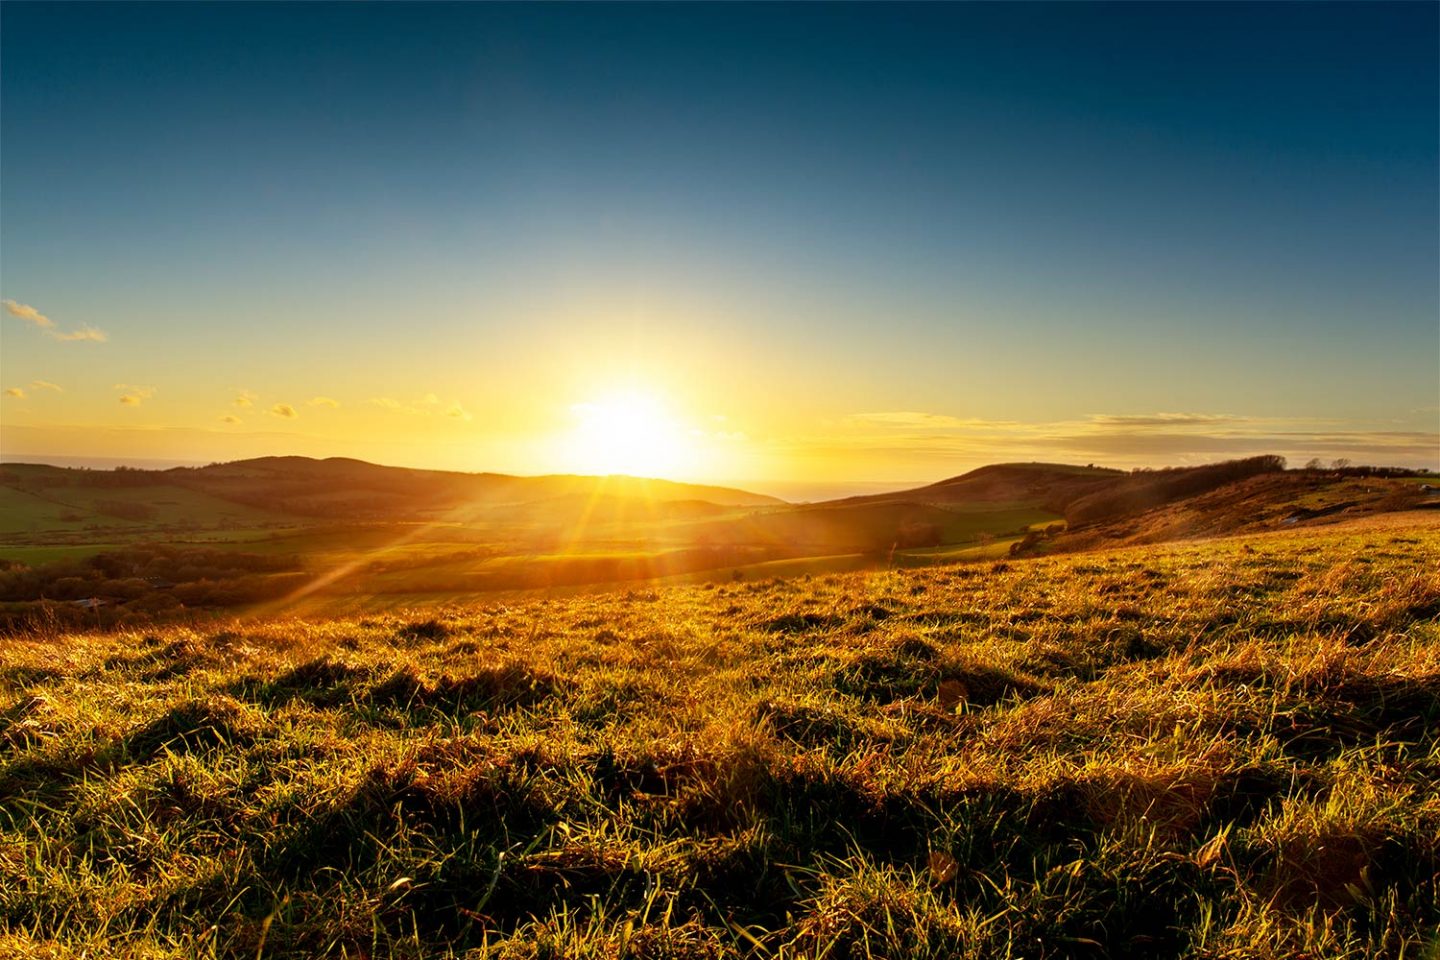
Whether you are a seasoned landscape professional or novice picking up his first camera, there is no better shot to take than the perfect sunset. However, when it comes to taking your own sunset photos, do you find that the shots never quite do it justice? If so, keep reading.
Although the steps to taking great sunset photos can be quite straightforward, if you don’t know what you’re doing the results can be quite uninspiring. There are certain things you can do to make sure you capture the perfect sunset every time. I will explain what these are, including the settings you need to use, equipment you should be using and I will even go over a few editing techniques.
Planning Is Important
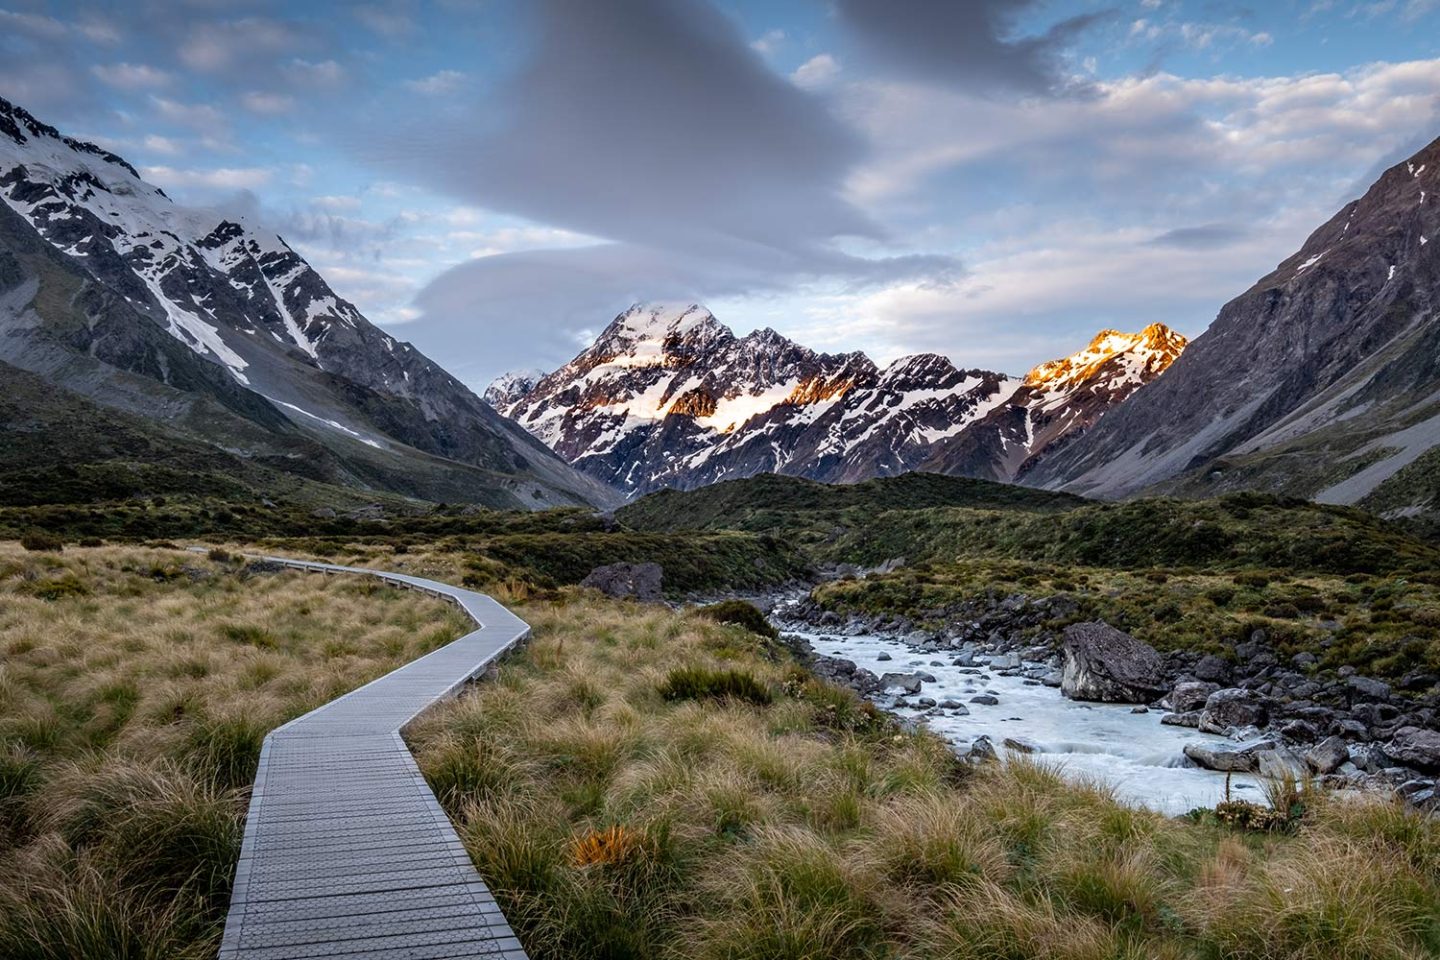
Although it’s true that some photos come about in a very spontaneous manner, some of the best examples of sunset photography are normally very carefully planned. One of the most important things that will help you create amazing sunset imagery is the location you choose. Having a few great sunset locations can be really helpful, and what can be even more important is to scope out the places at those locations you think will make great photos. One thing that’s really important to know, is where the sun is going to be setting, as that will determine where you are going to shoot. It’s not going to be very useful going to a location you’d like to photograph, only to find out the sun is setting in a different place.
A great app that you can use to plan your shoots is Photopills. It’s great for working out where the sun will be setting and has plenty of useful features. Check out on the App store for Apple products or Google Play store for Android.
One vital piece of information that will benefit your photos, is knowing exactly when the sun is due to set. This is something you can quite easily find out from a web search, simply search for the sunset time for the location and day you’d like to shoot. This is really important, as you should get to your location at least an hour before the sun is due to set so that you can set up properly and also take advantage of the golden hour. This is the hour before the sun sets, when the light is redder and softer than usual.
It’s a good idea to keep an eye on what the weather is doing as well. Shooting in different weather conditions can drastically change how sunsets look. For instance, in my experience I have found that when you have lots of clouds in the sky, you often get a much more interesting sunset than on a really clear day. This is because the clouds in the sky act as a sort of canvas, as the sun sets the clouds reflect the colours of the setting sun. Make sure you keep updated on the weather so that you can try to anticipate a great sunset.

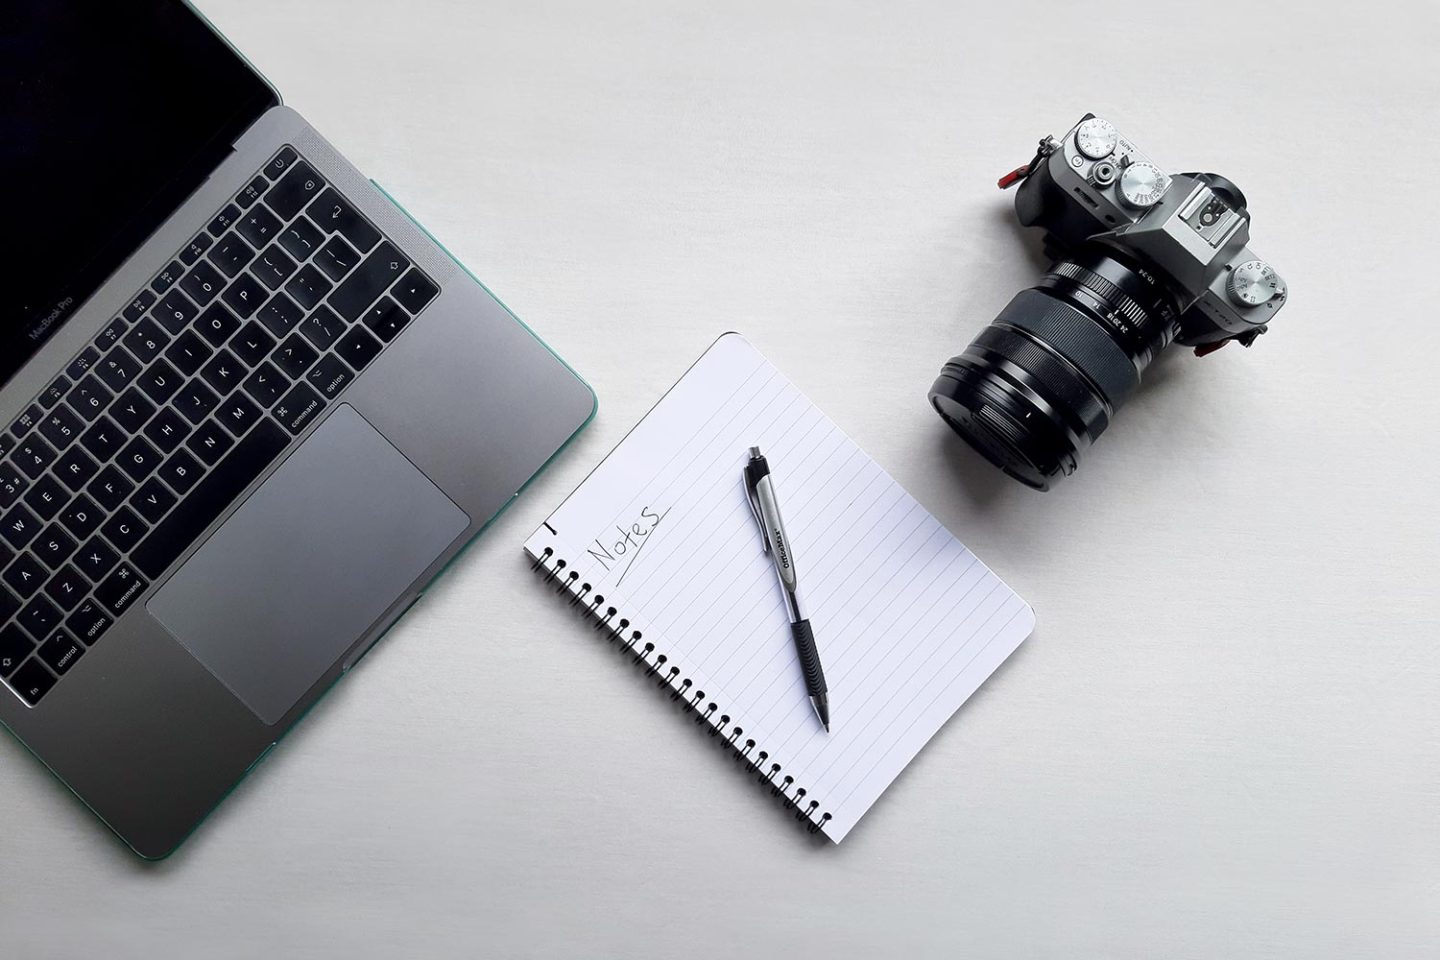
Equipment For Sunset Photography
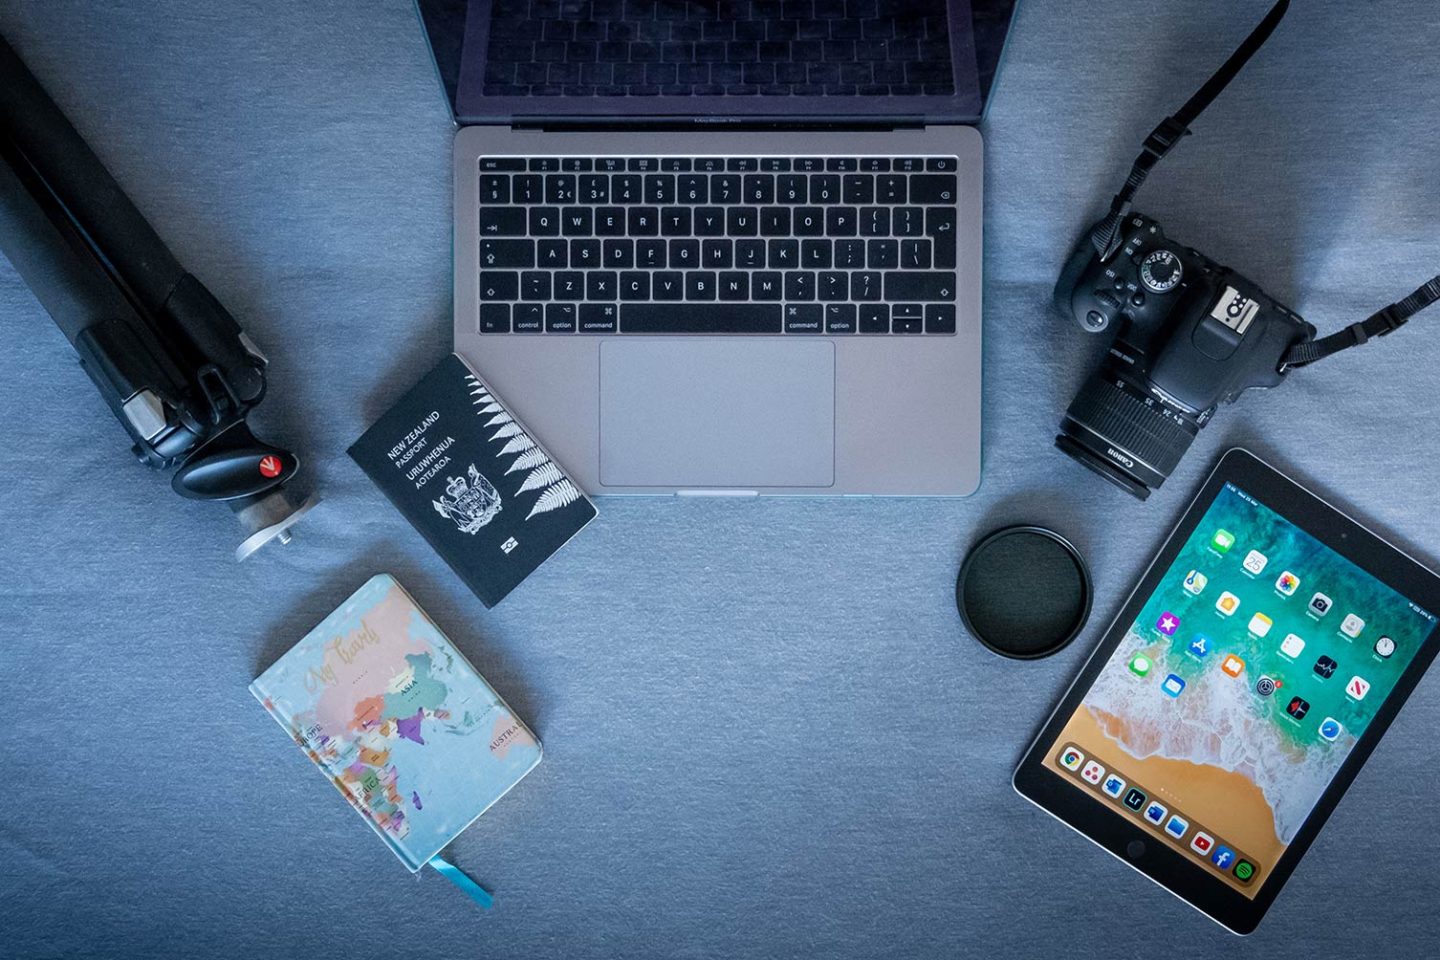
When it comes to equipment you don’t need a ton of expensive kit, however there are a few things that will make that perfect sunset shot a bit easier. To start with the most important part, the camera. Try to use a camera that allows you to control the settings, such as the aperture and shutter speed. I personally use a Fujifilm mirrorless camera but any camera that allows you to adjust the settings will work great.
Another piece of equipment that I find can come in very handy is a good sturdy tripod. It’s not always necessary but I find when shooting sunsets it can be useful when the sun has dipped below the horizon. Quite often you will find your shutter speed will be relatively slow due to the change in ambient lighting conditions, which means you need to stabilise your camera in some way. Also, if you want to use any techniques such as exposure bracketing, a tripod is essential to getting a good quality shot. I will explain a little later what exposure bracketing is, for those who don’t know. Also if you are playing around with slower shutter speeds or exposure bracketing, a shutter release can come in handy if you don’t want to use the self-timer.
Probably one of the most useful bits of kit that you can use to improve your sunset photography, is a graduated neutral density filter. Before I tell you what that is exactly, I will explain to you a problem it can help solve. If you have ever taken a sunset photo, you will probably have noticed that it is very hard to get both the sky and foreground of the photo exposed the same. This is because generally the sky will actually be a bit brighter than your foreground, especially if the sun has already dipped below the horizon. So how can we get both the sky and foreground exposed correctly? Well it’s very easy actually, we just need a graduated neutral density filter. Basically this is a piece of glass or plastic that is half clear and half slightly opaque. You can put it in front of your lens to even out the exposure so that both your sky and foreground are exposed correctly.
Settings For The Perfect Sunset
When taking photos of sunsets it’s best to shoot in manual mode or a semi manual mode such as aperture priority mode. Depending on the conditions I am dealing with, I normally choose to use aperture priority mode. Basically what this mode allows you to do is control the aperture you use while the camera determines the shutter speed you use. I prefer to use this setting in manual mode when shooting sunsets as the lighting conditions are constantly changing and it means that I can guarantee I get a good exposure. One thing I would highly suggest is to learn exactly how your camera’s settings work. This will allow you to spend more of your time concentrating on your subject matter rather than worrying whether you are using the correct setting.
When it comes to the exposure of your images there are three variables that you can control in order to get the desired result. These are the aperture, shutter speed and ISO; if you need any guidance on this, check out this amazing article that will explain everything. Below I will explain what is generally considered the best settings for each of these three variables.

Aperture
When it comes to shooting sunsets and also landscapes in particular, it’s best to stick to an aperture in the range of f/11 to f/16. This means that you can achieve a pretty solid depth of field in your photos whilst limiting the amount of diffraction which will cause your photos to look slightly soft.
Shutter Speed
The shutter speed that you use will be determined by what you are shooting. For instance, if you are shooting something that has movement such as water, you might want to use a slow shutter speed to create a dreamy effect. Whereas if you are taking a shot that requires everything to be sharp then you should use a faster shutter speed. Generally, you will find that your shutter speed will be slower than during the daytime as there is less light available. However, if you do need to use a faster shutter speed, you can change either the aperture or ISO to allow you to keep your shutter speed faster even in low light conditions.
ISO
The last piece of the puzzle is ISO, this basically controls the sensitivity of your sensor. In simple terms the higher the number of your ISO the more sensitive the camera sensor is, allowing it to pick up more light. However, with sunset photography you should be using a fairly low ISO, normally ISO 100 is perfect. This is because it produces the best quality result that contains the least amount of noise and grain in your images.
Exposure Techniques For The Perfect Sunset Shot
When it comes to exposure, the main technique you can use to make sure you get an even exposure across the whole of your image, is exposure bracketing. With exposure bracketing you take a few shots at different exposures and use a program like Lightroom to combine them together. This will create an image that has a balanced exposure and is normally used as an alternative to using a graduated neutral density filter. You can find everything you need to know about exposure bracketing in this amazing video.
Even if you don’t want to use exposure bracketing in your sunset photos, it’s a good idea to get in the habit of taking a few photos at different exposures. This is because what looks perfectly exposed on the back of your camera might not be as perfect as you think.
Composition
Composition is key to producing the perfect sunset shot, it might sound obvious but you’d be surprised how many shots turn out badly because of poor composition. An obvious composition rule to follow would be the rule of thirds, but sometimes that can be a tad boring. So instead of creating boring sunset imagery, experiment a bit, see if you can create interesting images through great composition. Maybe you could use leading lines or perhaps you could look for symmetry or patterns in your photos. You could create depth by including elements in the foreground or maybe you could use lots of negative space in your photos to eliminate any distracting aspects. What I’m trying to say is there are a number of different composition techniques you can experiment with, all of which can create really interesting sunset imagery.

Shoot Lots
When it comes to shooting the perfect sunset, time isn’t normally on your side. You will find that you’ll have a window of about an hour of good light, but the really incredible light might only last for about 10 minutes. This means that it is really important to shoot as much as you can in the little time you have. So make sure you’re at your location early to take advantage of the amazing lighting conditions. I’d also suggest you try shooting lots of different exposures, try shooting from different angles and generally make use of your surrounding location.
Editing Techniques
When it comes to editing your sunset photos it all comes down to personal preference. I like to initially edit my images using Lightroom and then take them over to Photoshop if they need a little more attention. If you haven’t used Lightroom or Photoshop before, you can find plenty of amazing tutorials online on sites such as YouTube. If you’re just starting out you might want to check out what Lightroom presets are, they can be a great way to learn how to use Lightroom like a pro.
When it comes to shooting sunset imagery you will more than likely be shooting towards the sun which can cause lens flare to occur. Lens flare can be quite hard to avoid when shooting sunset images and can cause your photos to look washed out and can produce unwanted circles and rings on your photos. Luckily though there is a technique you can use to prevent lens flare that requires you to take two images and combine them in Photoshop. If you wanted to learn this great technique, check out this video that explains everything.
Final Thoughts
So now you know exactly how to go about capturing the perfect sunset photos. If you use everything that you learned in this article next time you’re out shooting, you’ll have a great chance of creating some amazing results. So now it’s up to you, the best way to get incredible sunset photography is to practise as much as you can. The more you get out and shoot, the better your photography will become and after a while you will evolve into a sunset photography master.
If you’re looking for some more great articles check out these.
- 8 Powerful Lightroom Mobile Presets You Need Right Now
- 13 Brilliant Lightroom Hacks That Will Blow Your Mind
Pin It